Collaborative Post¦ Learning how to install an artificial green wall on concrete isn’t the most difficult task in the world, but it does require a technical hand. A little experience is clearly a plus, yet not mandatory. In fact, this kind of task makes an excellent DIY project for homeowners.
You’ll obviously need a few tools, as well as the ability to follow the concepts of anchors and panels. Don’t worry, it’s easier than it sounds. Here are the steps to ensure a good-looking and durable final result that won’t sag or pull away over time.
What You Need
Make sure you get all the tools and materials you need upfront. Failing to get them, and you may need to stop your project in the middle, just because you may need to go out and buy some more tools. And no, it’s not a good idea to improvise with whatever tools you have around.
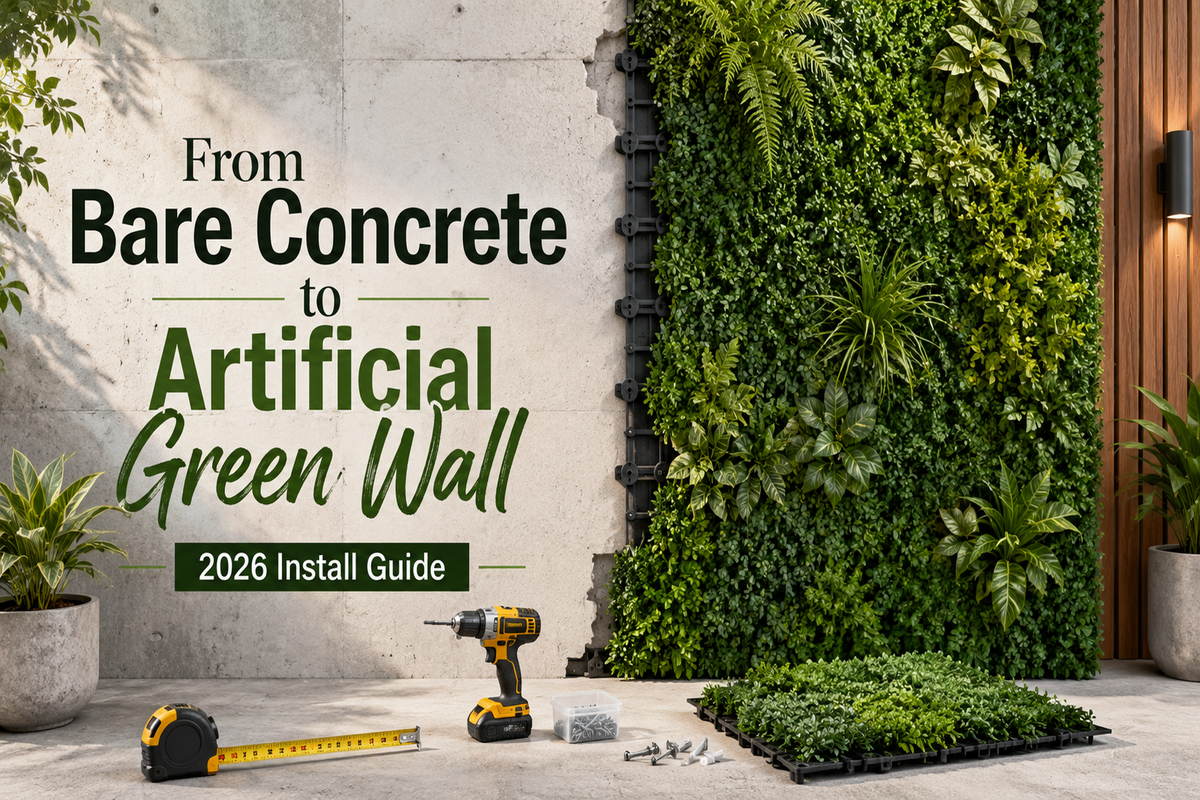
Here’s a list of the general materials and tools you’ll require:
- The artificial panels (UV-treated if you are putting them outdoors)
- Hammer drill with a few masonry drill bits
- Wall plugs, also known as masonry anchors
- Screws with large washers
- A few heavy-duty cable ties
- Spirit level
- Chalk or pencil
- Screwdriver or an electric drill with a driver bit
- Pliers or wire clippers, but only if you use cable ties
And of course, on top of all these, when you get an artificial green wall, you should know exactly how big you want it to be, where it goes, what kind of material the wall is made of and how many panels you need for it. That’s actually the first step in your plan.
Connect and Measure Everything
Your measurements should be correct before you even order the artificial wall panels. You should have enough panels to cover the wall completely. Not more, but maybe slightly less if you can’t find the right size.
Get all the panels together in an empty working space. Put them face down on a flat surface. Make all the connections, whether they come with screws or can be snapped together. They should fit the size of your wall.
Then, grab the spirit level and chalk or pencil and draw a straight, horizontal line where the first panels will be. Start at the top, so you know precisely where you go from and ensure the most visible part of the wall is perfectly square.
Mark and Drill
Get the connected panels up against the concrete wall. If you have a large wall to cover, you may need a friend to help out and hold everything in place. Otherwise, you can do one line at a time or you can simply split the project into manageable sections.
As you hold the connected panels against the wall, make sure that you align them with the level line you drew before. Also, they should hang flush against it without any warping or bunching.
Most experts start at the top, usually in the top left corner. It also depends on your layout and whatever you’re comfortable with.
Pull apart some of the leaves very gently, so you can see the grid underneath. While keeping panels in place, mark spots on the concrete along the grid. Again, you can use a pencil or chalk.
Remove the panel, then fit your hammer drill with a masonry bit. Drill a hole right into the spot. Other than that, your holes shouldn’t be longer than your wall plugs, so measure everything first.
Secure the Wall Plugs
Figuring out how to install an artificial green wall on concrete is a lot about securing everything.
Push the wall plugs or anchor them into the drilled holes. They should be level with the concrete surface and can be lightly tapped with a hammer if they stick out.
Do the same for all the holes you’ve drilled.
Now, one panel at a time, place them on the wall, lining them up with the plugs. Again, you may have to move the leaves for perfect visibility.
Get a screw in, then right into the plastic mesh of the panel and into the plug. The washer is quite important at this stage because it prevents the screw head from falling through the grid. You can still get it back, but it’s an annoying task.
Work Across, Then Down
Work from left to right or right to left, then move on to the next line downwards.
While not mandatory, some artificial walls may also come with galvanized steel wire grids, only for extra security. For each panel, make sure that it sits flat. Secure the corners well, as well as the middle especially if the wall faces strong outdoor winds.
Finish the Installation
Get some wire cutters and snip away overhanging elements or edges to create clean, seamless borders along the ceiling or floor lines. You can also shape panels around different obstacles or decorations.
Finally, fluff the artificial leaves and flowers to cover any technical bits, such as joins or screws, giving the entire installation a natural appearance.
In the end, learning how to install an artificial green wall on concrete isn’t that difficult, yet it requires a little experience, plenty of patience and attention to small details. Many packages include instructions, as well as tools and extra bits that you may need.