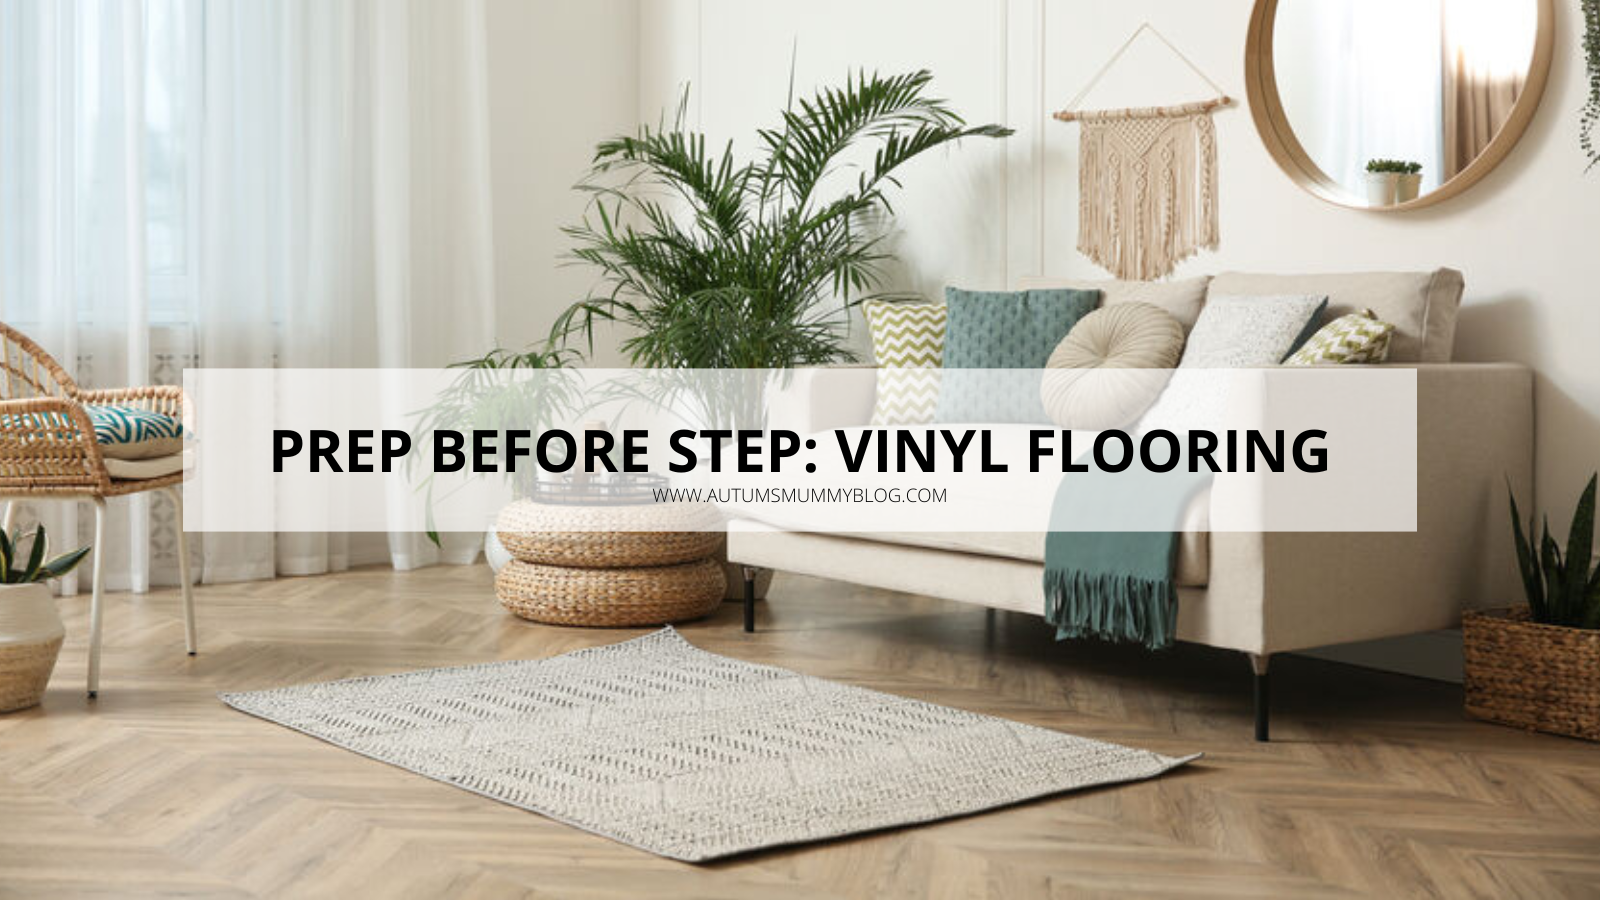
Sponsored Post¦ If you like to go it alone when it comes to the odd dash of DIY, you undoubtedly turn to the world of Google to help with those luxury vinyl flooring tiles you have chosen such as quick step flooring.
You want to save a penny but not take the pounding on your first stab at installation, especially if you take a step wrong. Firstly you should always consult with those who you bought your tiles from, as specific installation instructions will have adhered to. Secondly, it may be a case of a few simple steps.

Beginning
Before starting on all the fun stuff, ensure your existing floor is perfectly level – meaning preparing your subfloor.
If you have pulled-up carpet or old flooring – or are planning on layering your vinyl such as grey oak flooring over an existing floor – you ensure that the subfloor it’s layered over is clean, level and dry. You don’t want these things to haunt you later, so take the time to ensure it fills all the criteria the first time; Level – Clean – Dry.
Be sure that any substance such as waxes, grease, dirt or chemicals are not present following your levelling. If these are on the subfloor, then it could affect the bond. Once the dust and debris are cleaned, ensure any holes in the subfloor are patched and level with the rest of the floor.
Open your Vinyl
The subfloor should be in order and ready to layer over. No matter which vinyl flooring product you have purchased, like Quick-Step vinyl flooring, it has to toe the following guidelines.
It is essential that before you start laying, you check for any detectable defects in the planks or tiles. We recommend working from multiple boxes to reduce any pattern repeat and create a more natural balance to the floor.

Starting Line
Draw your guideline on the starting wall. From there, you will measure two feet out and mark on one side, repeating the mark and measuring to the opposite side. From here, you can connect two points using a chalk line and trace over them with a pencil or a marker.
Open the adhesive (recommended adhesive from your supplier) and spread the coat evenly. You can apply the right amount to secure the bond by holding the trowel at a 45-degree angle. Once the adhesive is dry, you can install planks with your guideline. Be sure to measure each plank, mark the cuts and score using a utility knife to snap it in half. As the planks install, be sure that they are tightly together.
Once all planks are installed, roll them with a roller to secure them. After completion, give the floors a quick wipe down and leave them to sit for up to 48 hours without the household walking on them as much as possible.
Not all vinyl installations are the same, so discussing any techniques with your selected supplier which may have guidelines to hand to aid in self-installation is recommended.
Disclosure: This is a sponsored post.
